
Last updated October 30, 2026
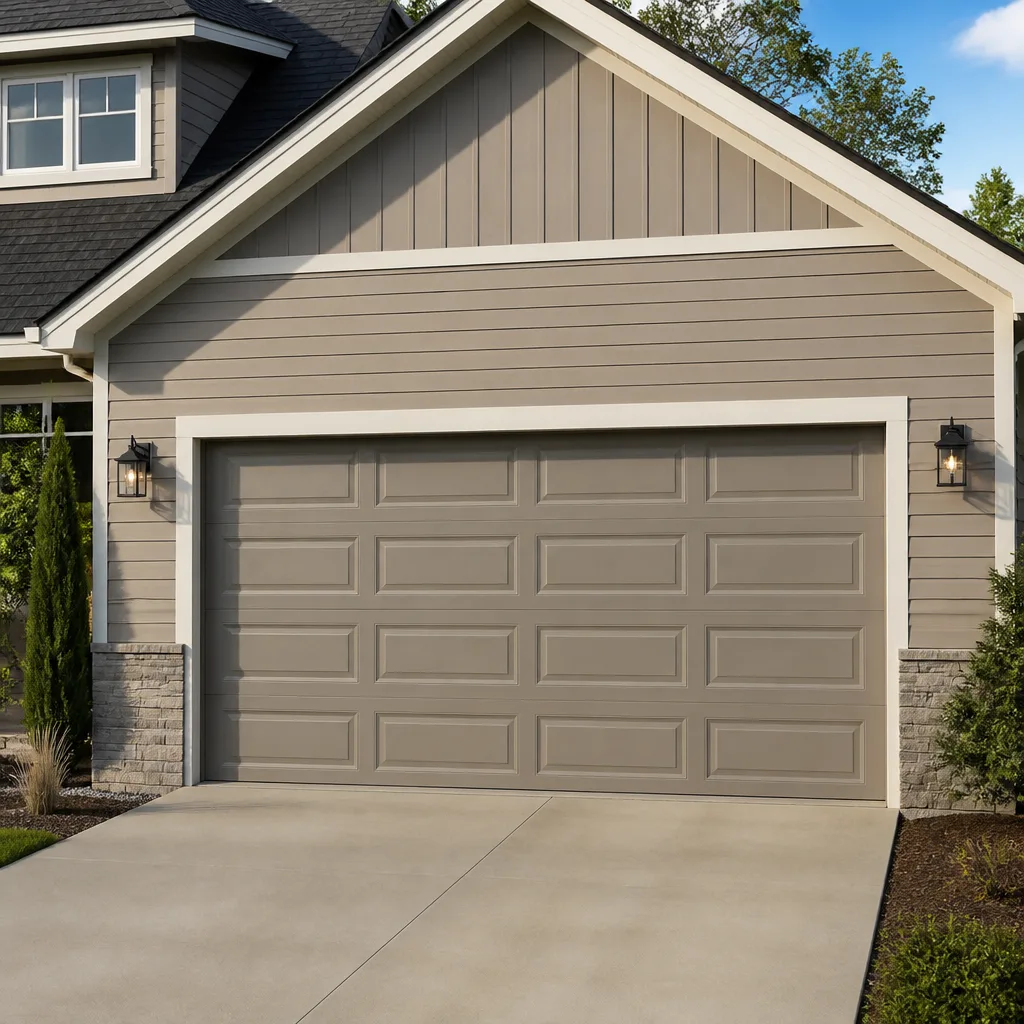 Raised-panel steel
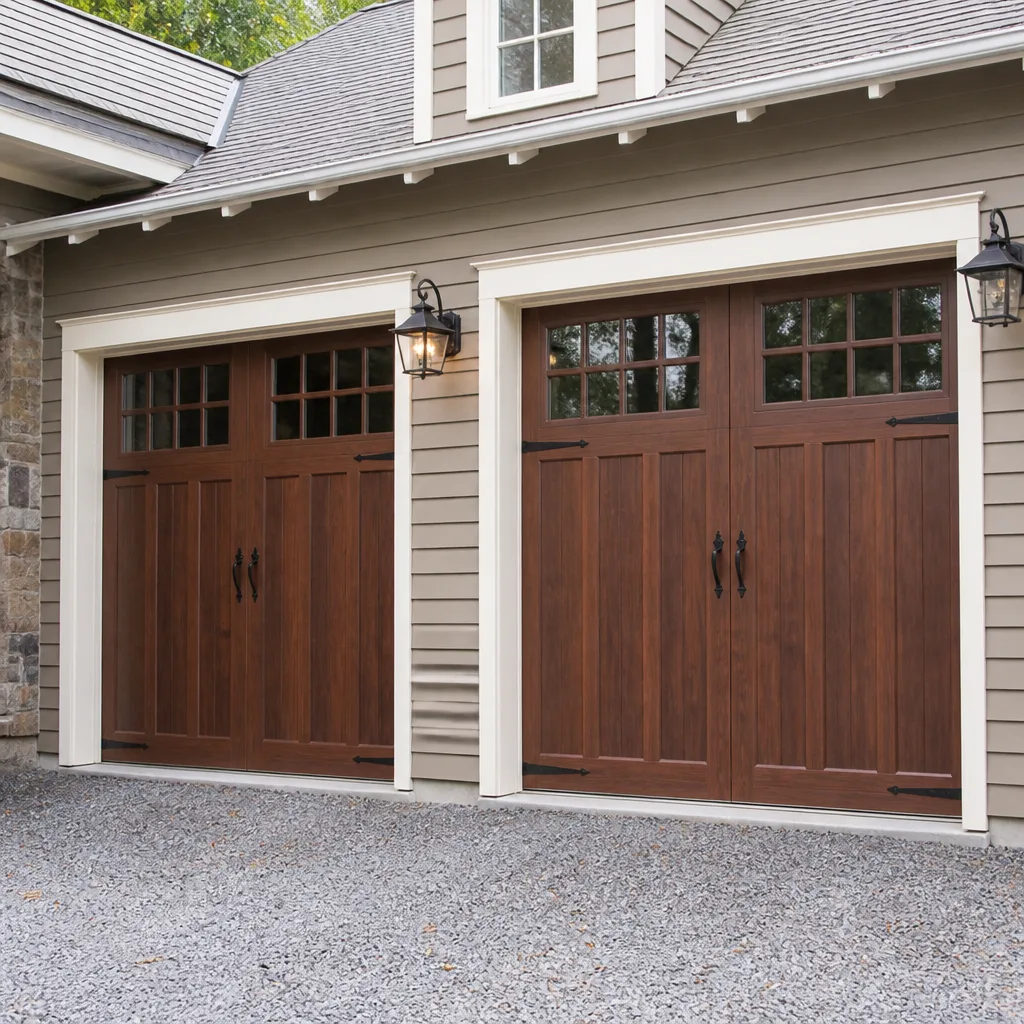 Carriage house
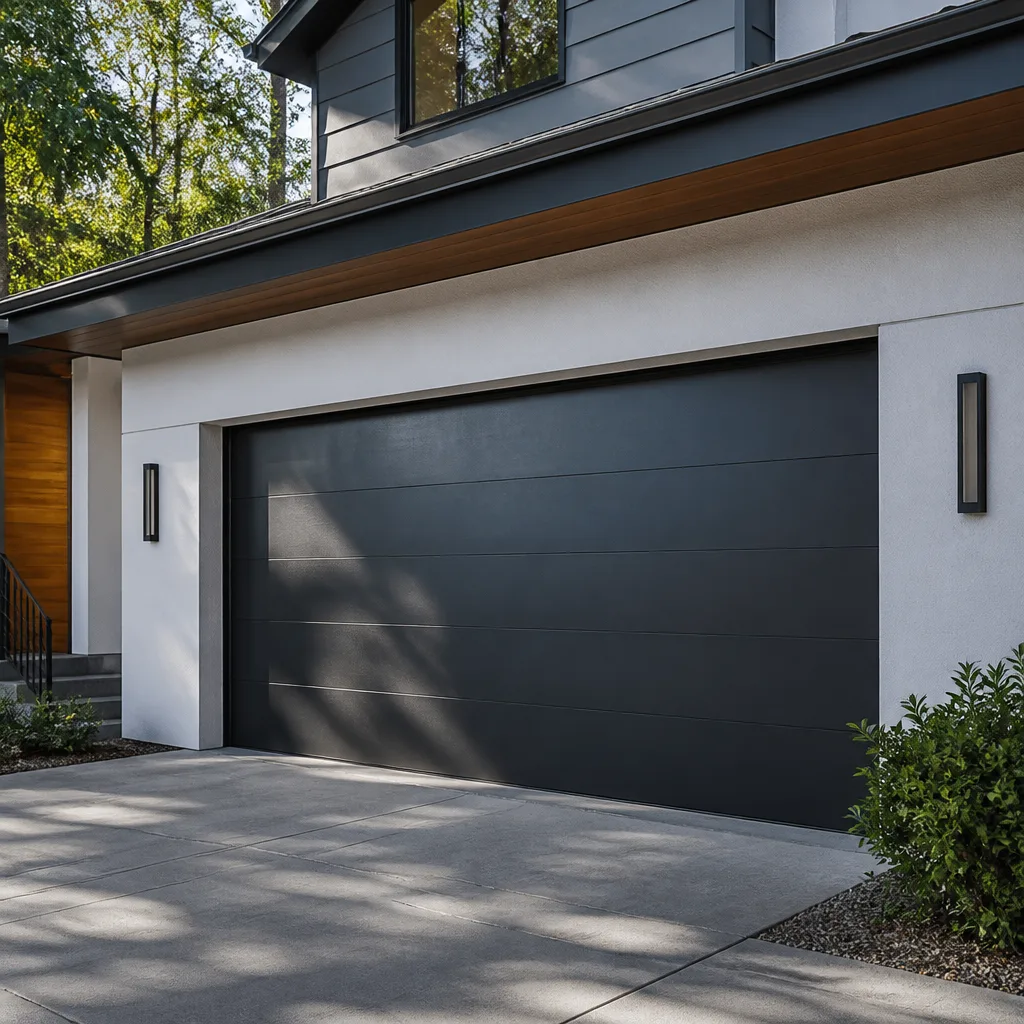 Modern flush
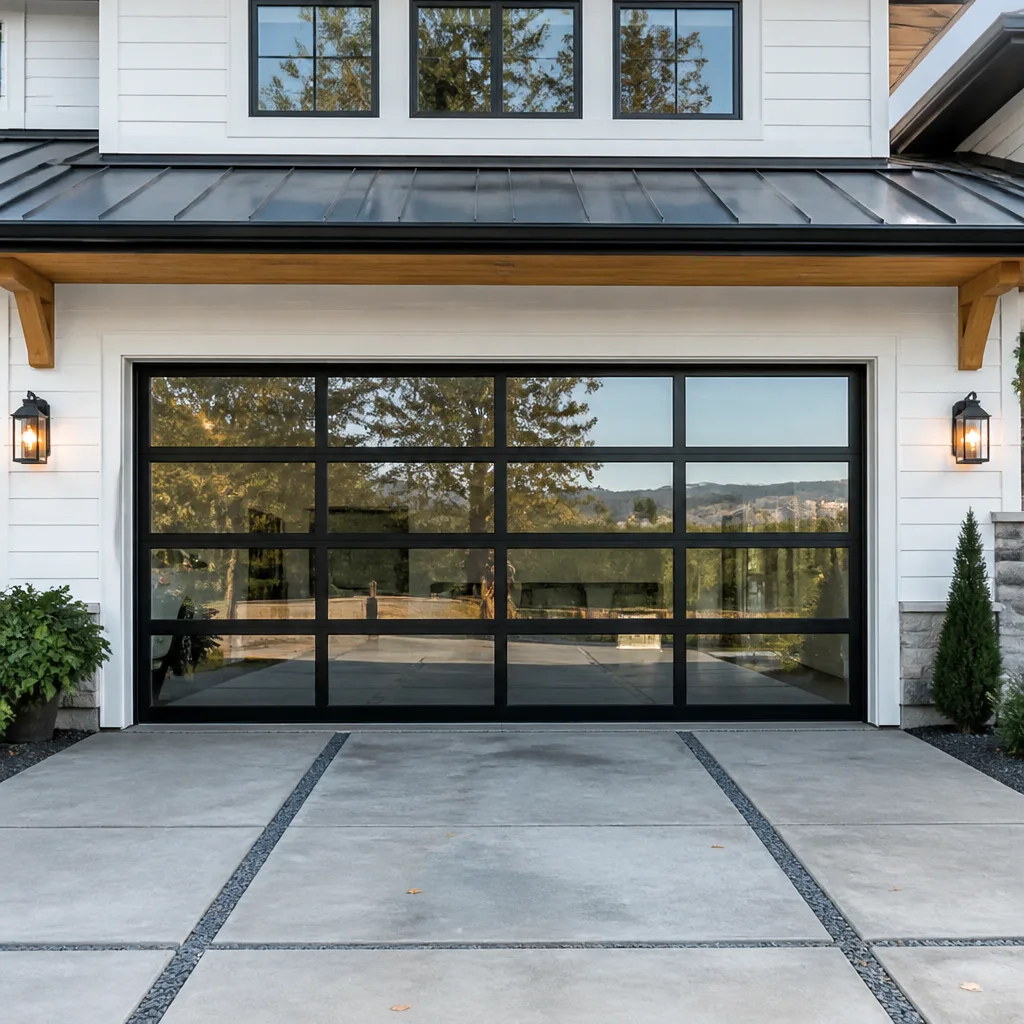 Full-view glass
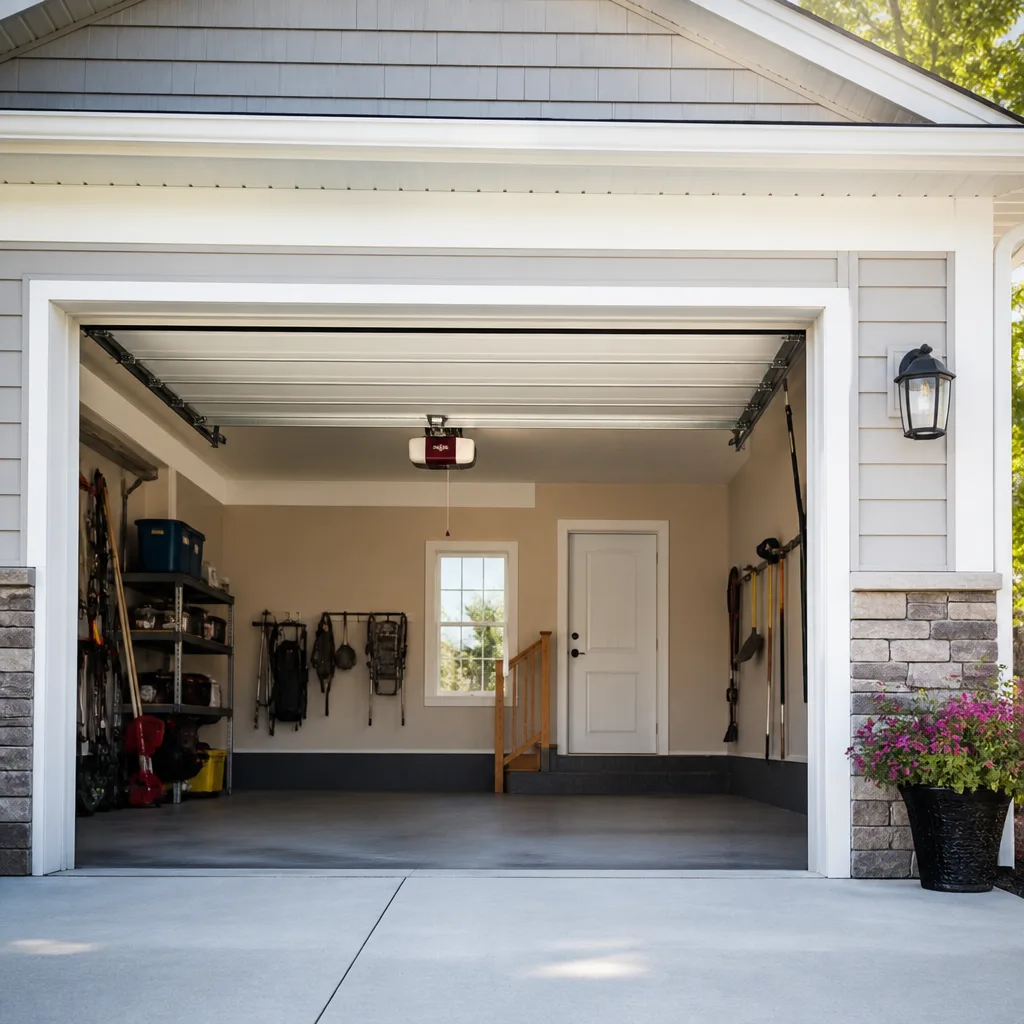 LiftMaster openers
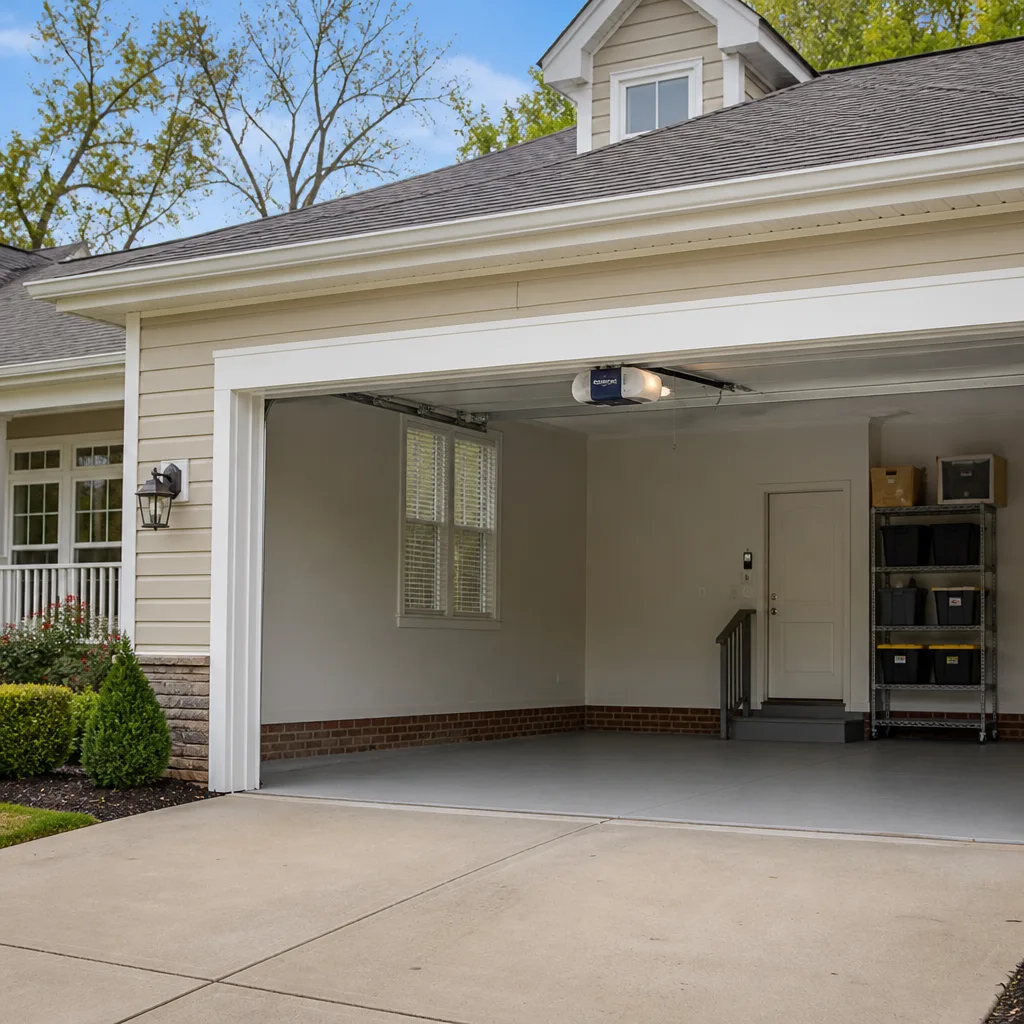 Chamberlain openers
Full 25-point door and opener safety check with every visit - springs, cables, rollers, tracks, and your LiftMaster or Chamberlain opener included
You get a price before we start. It does not change when the truck arrives.
Get your free estimateGarage Door Repair Troubleshooting: Common Problems and How to Fix Them
A garage door that reverses before closing and a garage door that won’t move at all look like two different emergencies, but they often share the same root cause: a misread safety sensor. The difference between a ten-minute fix and a $300 service call usually comes down to knowing which system to check first. This guide walks you through the diagnostic sequence we use for our Garage Door Repair services across Sarasota every week, from Longboat Key to Lakewood Ranch, so you can isolate the real problem before anyone touches the door. You’ll learn how to tell an opener failure from a mechanical failure, what different noises actually mean, and which symptoms call for stopping immediately and stepping away from the door.
Styles & brands we work with
Quick Answer
Most garage door problems fall into one of four categories: the door won’t move, it moves partway and reverses, it makes unusual noise, or it operates erratically. Start by checking power and the manual release, then the photo-eye safety sensors, then listen for what the noise tells you. If the door is heavy, jerky, or shows visible cable or spring damage, stop and call a professional. Call (866) 282-4861 for a free estimate.
Table of Contents
- The Symptom-First Diagnostic Tree: Your Starting Point
- Opener Problem or Mechanical Problem: How to Tell in Under Two Minutes
- Sensor Alignment and Logic Board Issues: The Problems That Mimic Spring Failure
- What Manual Operation Tells You: Reading the Door by Hand
- Red-Flag Symptoms: Stop Immediately If You See These
- Common Fixes You Can Do Yourself
- Common Mistakes to Avoid
- When to Call a Professional
- Frequently Asked Questions
- The Bottom Line
The Symptom-First Diagnostic Tree: Your Starting Point
Every garage door failure announces itself in one of four ways: noise, movement, reversal, or dead stop. Each points to a different subsystem of the door, and checking them in the right order saves you from replacing parts that were never broken. Here is the sequence we teach our technicians in Sarasota, and it works on every brand we service, from Wayne Dalton to Raynor to LiftMaster.
Step 1: Classify the symptom. Is the door making noise but not moving? Moving but reversing? Moving unevenly? Or completely dead? This single observation eliminates about half the possible causes before you touch anything.
Step 2: Identify the system. Garage doors have three separate systems that work together: the door hardware (panels, rollers, hinges, springs, cables), the opener (motor, drive system, logic board, safety sensors), and the door’s balance and track (how the door sits and travels). A grinding noise when the door moves points to hardware or track. A clicking sound with no movement points to the opener. A door that starts and reverses points to sensors or force settings. A door that jerks or stalls on the way up points to springs or balance.
Step 3: Rule out the easiest causes first. Power, remote batteries, lock mode, and sensor obstruction are the most common culprits on any service call in Sarasota. We see more misdiagnosed sensor problems than actual sensor failures by a wide margin. Here is the complete diagnostic tree in list form:
- Door completely dead, no sound: check power source, circuit breaker, wall button, remote batteries, lock mode
- Door hums but does not move: check manual release position, opener drive gear, broken spring, ice or debris on track (rare in Sarasota but possible after a freeze in inland areas)
- Door moves partway and reverses: check photo-eye alignment, lens cleanliness, force settings, track obstruction, roller condition
- Door closes all the way then immediately opens: check close-force adjustment, safety sensors, floor obstruction, garage floor settling
- Door moves unevenly, looks crooked: check cable condition, spring balance, roller wear, track alignment
- Door makes grinding, scraping, or popping noise: check roller wear, hinge lubrication, track alignment, opener gear condition
The diagnostic tree works because it forces you to observe before you adjust. Most homeowners start adjusting things immediately, which makes the original symptom impossible to diagnose. Take thirty seconds. Write down what you see and hear. Then start checking.
One note specific to Sarasota: our humidity and salt air, especially within a few miles of the Gulf, accelerate roller corrosion and hinge wear in ways homeowners in drier climates never see. A grinding noise on a five-year-old door near Siesta Key is more likely to be corroded rollers than anything else. On a ten-year-old door in Lakewood Ranch, it is more likely to be spring or bearing wear. Climate context matters when you are diagnosing your own door.
Opener Problem or Mechanical Problem: How to Tell in Under Two Minutes
The single most misdiagnosed split in garage door repair is the line between the opener and the door itself. They fail differently, they sound different, and they require completely different fixes. Getting this wrong means buying a new opener when you needed a $90 spring, or vice versa.
The two-minute test: pull the manual release cord (usually a red cord hanging from the opener rail) to disconnect the opener from the door. Now operate the door by hand.
- If the door opens smoothly by hand with moderate effort: the door hardware is working. The problem is the opener. Look at the logic board, drive gear, sensors, or remote.
- If the door is heavy, hard to lift, or will not stay open by itself: the problem is mechanical. You have a spring issue, a cable issue, or a track issue. The opener is not the problem.
- If the door binds or sticks at a specific point in the travel: the problem is the track or rollers. The door is finding an obstacle in its path.
This test takes less than two minutes and tells you more than any amount of button pressing. A Craftsman opener that clicks and does nothing is often blamed for a broken spring, and the homeowner replaces the opener only to watch the new one fail the same way. The opener was never the problem. The door was too heavy for the opener to lift, because the spring had failed and the opener was doing all the work.
In our experience across Sarasota, opener problems and door problems occur in roughly equal numbers, but opener problems get misdiagnosed far more often. Homeowners hear the hum, assume the motor is dead, and skip the manual test. The manual release exists for exactly this reason. Use it.
Another clue: opener drive systems wear out on roughly a seven-to-ten year cycle in Florida’s humidity, especially belt-drive models where the belt material degrades over time. If your LiftMaster opener is ten years old and the door is light and smooth by hand, the drive gear or belt is the likely culprit. If the door is heavy by hand, the opener’s age is irrelevant. The problem is mechanical.
Sensor Alignment and Logic Board Issues: The Problems That Mimic Spring Failure
The most common service call we get in Sarasota that turns out to need no parts at all is the sensor problem. Photo-eye safety sensors sit on each side of the door track, about six inches off the floor. They fire an invisible infrared beam across the opening. If anything interrupts that beam, or if the sensors drift out of alignment, the opener refuses to close the door. The motor still opens the door fine. It just will not close it. Homeowners describe this as “the door is broken” or “the spring is gone” because the opener was working last week.
The two-minute sensor check:
- Look at each sensor. Both should have a small LED light. One is usually green, one is usually red or amber depending on the brand.
- If one or both lights are off, check for power and wiring first.
- If the lights are on but one is blinking, the sensors are out of alignment or obstructed.
- Gently adjust the sensor bracket until the light stops blinking and becomes steady.
- Try the door again. If it closes, you fixed it. No parts. No service call.
What most guides do not tell you: sensor problems can also be intermittent. A sensor that works in the morning fails in the afternoon because the garage door track flexes slightly as it heats up in the Florida sun. The alignment shifts by a few millimeters, the beam breaks, and the door refuses to close. This happens constantly in Sarasota, especially on west-facing garage doors that take direct afternoon sun. The homeowner jiggles the sensor, it works for a while, then it fails again when the track moves. The fix is often a slightly tighter mounting bracket or a small shim, not a new sensor.
Logic board issues are rarer but worth knowing about. A failing logic board can produce exactly the same symptom: the door opens but refuses to close. The difference is that a logic board problem persists even when the sensors are perfectly aligned, and it often shows up as random, unpredictable behavior: the opener works fine for three days, then stops closing for an hour, then starts again. If you have confirmed the sensors are aligned and the door still will not close, the logic board is the next suspect. This is a repair a professional should do. It involves working with energized control wiring, and some boards store capacitor charge even when unplugged.
The takeaway: do not assume a broken spring just because the door acts broken. Sensors and logic boards mimic mechanical failures far more often than most homeowners realize. Check the two-minute manual operation test first. Then check the sensors. Then, if you need help, see our How to Hire a Garage Door Contractor in Sarasota: A Step-by-Step Guide.
What Manual Operation Tells You: Reading the Door by Hand
We covered the two-minute manual test earlier, but it is worth going deeper, because most homeowners skip it or do it incorrectly. The manual release is the most powerful diagnostic tool in your entire garage, and it takes thirty seconds to use correctly.
To disengage the opener safely:
- Close the door completely first, if it will close. Never disengage an opener with the door open unless you hold the door’s weight manually, because a door with a broken spring will slam down dangerously.
- Pull straight down on the red release cord. You will hear or feel a click as the trolley disconnects from the opener.
- Lift the door with your hands. Use the handle if you have one. Pay attention to how it feels.
- Raise it to the halfway point and release it slowly. A properly balanced door stays exactly where you leave it, or drifts very slowly. A door with a broken or weak spring drops.
- When you are done testing, pull the cord again or press the wall button to re-engage the opener.
Here is what each result tells you:
- Smooth, moderate effort, stays in place at midpoint: the door is balanced and the hardware is fine. The opener is the problem.
- Door is heavy or hard to lift: one or both torsion springs are broken or severely weakened. The opener has been compensating, and it will fail soon if the spring is not replaced.
- Door drops quickly when released at midpoint: the springs are not holding tension. Do not operate the door further by hand or with the opener.
- Door sticks or binds at one spot: a roller is worn or seized, or the track is bent or out of alignment. Find the spot, then look at the track and roller at that point.
- Door is loose, jerky, or has a loud pop when moving: cables may be damaged or loose. A failing cable often gives a visible warning: fraying, kinking, or unwinding on the drum.
The manual operation test matters in Sarasota specifically because extreme humidity and salt air age springs and cables faster than the national average. A spring that would last ten years in Arizona may fail in seven or eight here, especially near the water. If your door has been getting progressively harder for the opener to lift over several months, the manual test will confirm what the opener has been telling you.
Red-Flag Symptoms: Stop Immediately If You See These
Some garage door symptoms are not troubleshooting prompts—they are Garage Door Warning Signs: A Sarasota Homeowner’s Reference Guide to danger. The door is telling you to stop operating it and call a professional before someone gets hurt. Torsion springs and lift cables are under enormous tension. A snapping spring or cable releases that energy in a fraction of a second, and the damage can be severe. We have seen garage doors in Sarasota with springs that failed while the owner was standing next to the track, and the only reason no one was hurt was luck.
Red-flag symptoms that mean stop immediately:
- A visibly broken torsion spring. If you see a two-inch gap in the spring above the door, the spring has snapped. Do not operate the door by hand or with the opener. Do not stand under the door.
- A frayed or kinked lift cable. Cables on residential doors are made of braided steel strands. If you see loose strands, a birdcage kink, or a cable that has slipped off the drum, stop. The cable is about to fail or has already partially failed.
- The door is crooked while moving. A door that lifts unevenly means one spring or cable has failed while the other side is still working. Continuing to operate the door puts massive stress on the remaining cable and the door panels themselves.
- A loud bang like a gunshot followed by the door not moving. That was a spring. The door is now dead weight. Do not try to lift it manually.
- The door slams down when you release it. A door that drops under its own weight has no working spring tension. The door can weigh 150 to 300 pounds. Do not be under it when it falls.
- The opener runs but the door does not move, and the motor keeps running. The opener’s internal gear or coupler has failed, but it could also be fighting a jammed door. The motor can overheat and become a fire hazard if it runs continuously against a load.
Do not attempt to replace a torsion spring yourself. We have encountered homeowners in Sarasota who watched a video and tried it. The tools required are specialized (winding bars, not screwdrivers), and the torque involved can shatter a forearm or worse if the bar slips. A professional does this job in under an hour with the right equipment and training. Your hand is not worth the savings.
Common Fixes You Can Do Yourself
Not every garage door problem requires a service call. Some fixes are genuinely safe for a homeowner to perform, and we believe in telling you which ones they are. Here are the most common ones we walk people through, from simplest to most involved.
- Replace remote and keypad batteries. If the wall button works but the remote does not, the remote battery is dead. This is the single most common garage door issue nationwide. Change the battery, re-sync if necessary, done.
- Clean and realign the photo-eye sensors. We covered the process above. A soft cloth for the lenses and a gentle hand adjustment for the brackets solves a huge percentage of “the door won’t close” calls.
- Clear obstruction from the track. Leaves, dirt, children’s toys, and even wasp nests (common in Sarasota during the warmer months) can block the door’s travel path. Inspect the track and remove anything that should not be there.
- Lubricate rollers, hinges, and the track. Use a garage door specific lithium or silicone spray, not WD-40. Spray the roller bearings, the hinge pivot points, and the spring coils. Do this twice a year in Florida’s climate. It quiets a surprising number of doors and extends hardware life.
- Tighten loose hardware. Over time, the constant vibration of door operation loosens bolts on the track brackets, hinges, and opener rail. A socket set and fifteen minutes can resolve a surprising number of rattling and binding symptoms.
- Adjust the force settings. Most openers have two small adjustment dials or digital settings on the unit: one for opening force and one for closing force. If the door reverses when closing, slightly increase the close force. Do this in small increments and test. If the door reverses because it hits something, increasing force is the wrong fix. Only adjust force if the door is smooth by hand and the track is clear.
What we do not recommend you do yourself: anything involving springs, cables, or replacing the opener logic board. These components store energy or control electricity in ways that can hurt you. The line between safe and unsafe is not about skill level. It is about what happens when something goes wrong. A roller that slips while lubricating is an annoyance. A winding bar that slips while tensioning a spring can break bones.
Common Mistakes to Avoid
- Lubricating the opener gears. Opener drive gears are not designed for spray lubricant, and doing this will actually attract dirt and cause accelerated wear. In Florida’s heat, sprayed lubricant on plastic gears turns into a sticky mess. Lubricate only the door rollers and hinges.
- Replacing the opener when the spring is broken. This is the most expensive mistake on this list by far. A $1,000 opener purchase to solve a $250 spring problem. The door will still be heavy after the new opener is installed, and the new opener will wear out prematurely fighting the broken spring. Always do the manual operation test first.
- Adjusting force settings as a first step. High force settings can make a door close on a person or object and still not reverse. Force adjustment should be the last thing you tune, not the first. If the door reverses, check the sensors and the track before touching the force dials.
- Using WD-40 on the door hardware. WD-40 is a water displacer, not a lubricant. It will temporarily quiet a noisy roller and then make it worse. Use lithium grease for metal-on-metal points and silicone spray for nylon components.
- Ignoring a noisy door because it still works. A grinding or popping noise that you tolerate for six months is a broken spring waiting to happen. The noise is the door telling you something is wearing out. Address it before it becomes an emergency.
- Failing to test the batteries before calling a technician. We have arrived at homes in Sarasota where the only problem was a dead remote battery. The homeowner was embarrassed, and the call still cost them money. Check the simple things first. You have our permission.
- Disconnecting the manual release with the door open. This is the most dangerous mistake on the list. If you pull the release cord while the door is overhead, and the spring is broken or weak, the door will fall. A 200-pound door falling from overhead can be fatal. Always disengage an opener with the door fully closed, or with the door securely supported.
When to Call a Professional
Some problems are worth fixing yourself. The sensors, the batteries, the lubrication, the loose bolts. Those are homeowner fixes. But when the problem involves a spring, a cable, a logic board, or a door that will not balance, it is time to bring in someone who does this work every day. The threshold is not about how handy you are. It is about what happens if you make a mistake. Springs and cables carry hundreds of pounds of tension. That energy is either released slowly and safely by someone who knows how, or it is released all at once.
Copper Garage Door Repair offers free estimates in Sarasota, and we will tell you exactly what is wrong and why before any work begins. Call (866) 282-4861 to schedule a diagnostic visit. The price we quote is the price you pay, agreed before any work starts. If the fix is simple, we will tell you. If it is not, we will show you why.
Frequently Asked Questions
In most cases, the photo-eye safety sensors are misaligned or obstructed, or the close-force setting is too low. Check the sensor lights first: if one is blinking, the sensors are out of alignment. Clean the lenses and gently adjust the brackets until the light is steady, then test the door again. If the problem persists, the force setting or the logic board may be the cause. Call (866) 282-4861 and we will diagnose it over the phone or on-site.
Minor repairs like sensor realignment and hardware tightening are often under $100 when no parts are needed. Spring replacement typically runs $180 to $340 depending on the spring type and door weight. Cable replacement runs $150 to $250. Opener diagnostic and logic board repair can range from $100 to $400 depending on the brand and complexity. These are Sarasota market ranges and may vary. We always quote the exact price before any work starts.
In most cases, yes. Spring, cable, sensor, and opener drive repairs can usually be completed in a single visit, often within a few hours of your call. We carry parts for the brands we service on our trucks, which means fewer return trips. Call (866) 282-4861 and we will let you know the next available appointment window.
A loud bang or pop when the door opens usually means a spring has broken or is in the process of failing. Torsion springs are under massive tension, and when they snap, they release that energy suddenly. Stop operating the door immediately and do not try to open it manually. This is a professional repair. Call (866) 282-4861 and we will come out and replace the spring safely.
We work on your brand, whatever it is. Our technicians are certified across eight major industry brands, including LiftMaster, Chamberlain, Genie, Clopay, Amarr, Wayne Dalton, Craftsman, and Raynor. That means we diagnose the actual problem rather than defaulting to one brand’s ecosystem. If your door or opener is from one of those brands, we can fix it. If it is from something else, call us anyway, and we will give you an honest answer about whether we can help.
This usually means the photo-eye sensors are not sending a clear signal to the opener, so the opener is operating in manual override mode. Holding the button forces the door closed while ignoring the sensors, which is a safety risk and not a permanent fix. Check the sensor alignment and wiring, and clean the lenses. If the problem continues, the sensors or wiring may need replacement. Call (866) 282-4861 for a proper diagnosis.
The Bottom Line
Garage door troubleshooting is not about memorizing every possible failure mode. It is about following a sequence: observe the symptom, identify the system, rule out the simple causes, and know when to stop. The manual operation test tells you whether you are dealing with an opener problem or a mechanical problem. The sensor check tells you whether the issue is electrical or alignment. The noise tells you whether the hardware is wearing out. And the red-flag symptoms tell you when to step away and call someone who handles tensioned springs and cables every day. Most garage door issues can be fixed the same day, and the ones that cannot are rarely helped by continuing to operate the door. For anything you would rather not handle, or for anything involving springs, cables, or boards, call Copper Garage Door Repair at (866) 282-4861 for a free estimate. We will tell you exactly what is wrong and why, before any work starts.
Written by the team at Copper Garage Door Repair, serving Sarasota since 2013. For more guides & resources, visit our blog.
See the difference
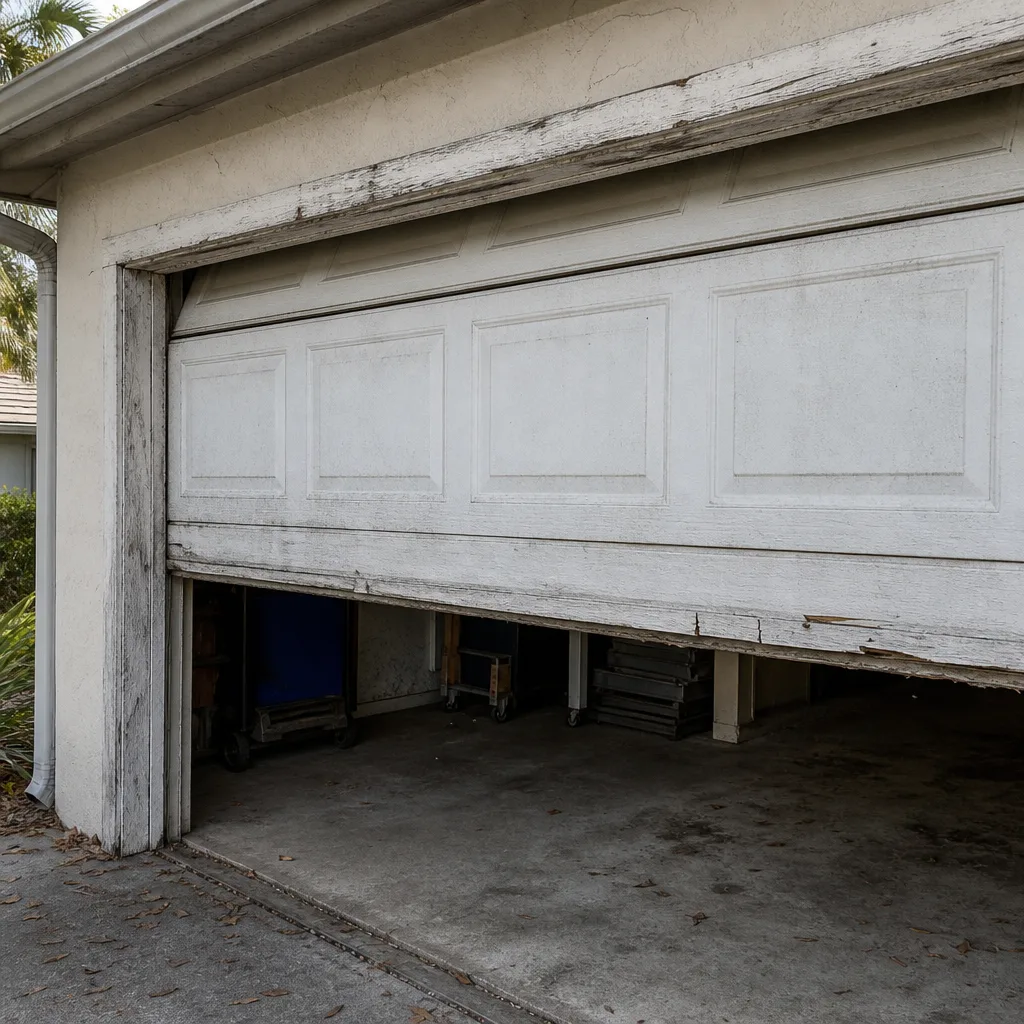 Before
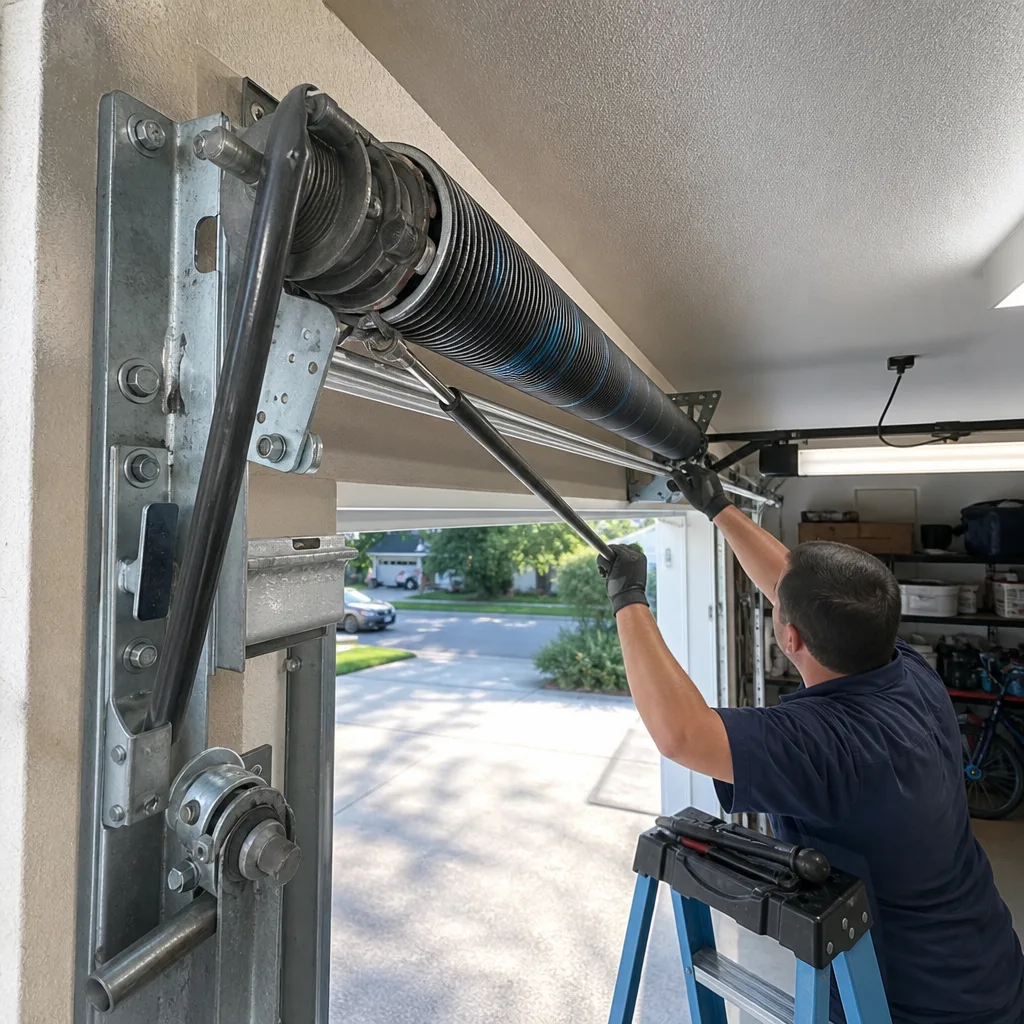 After
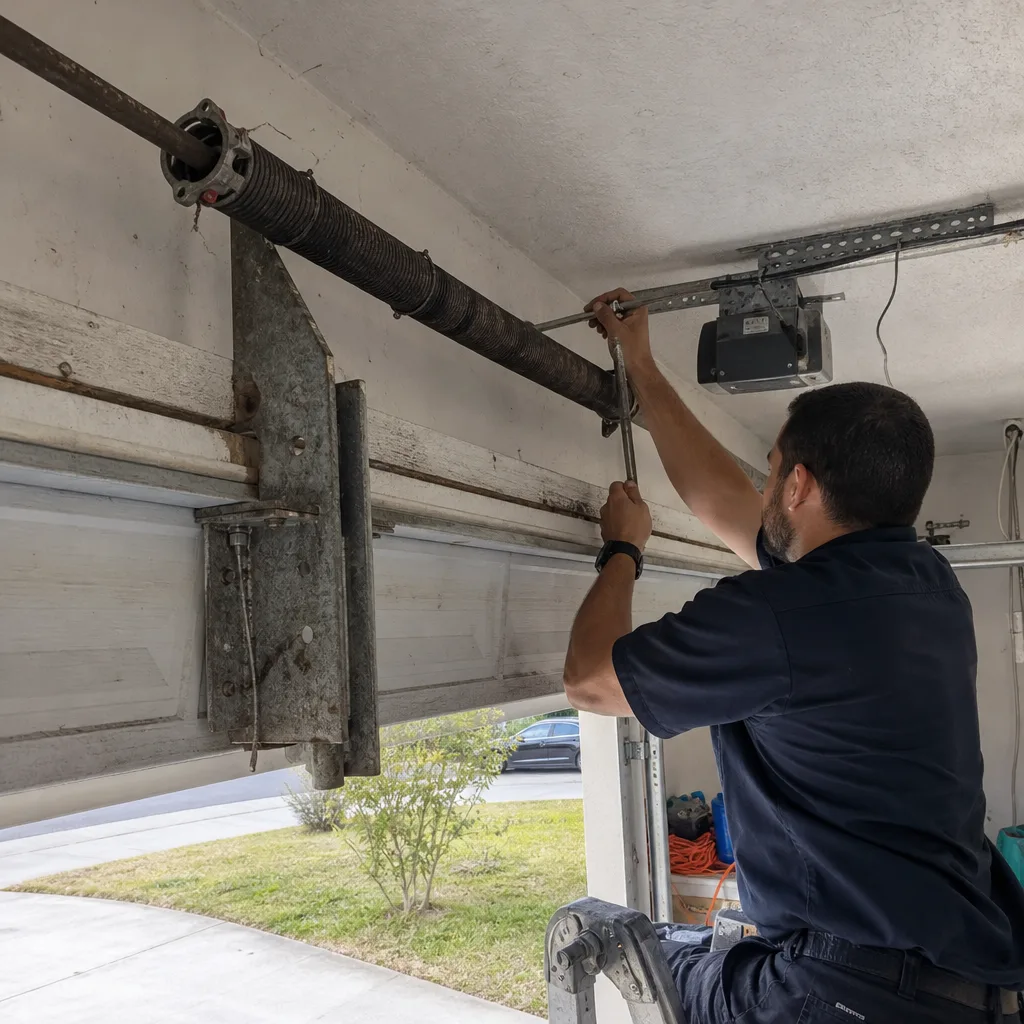 Before
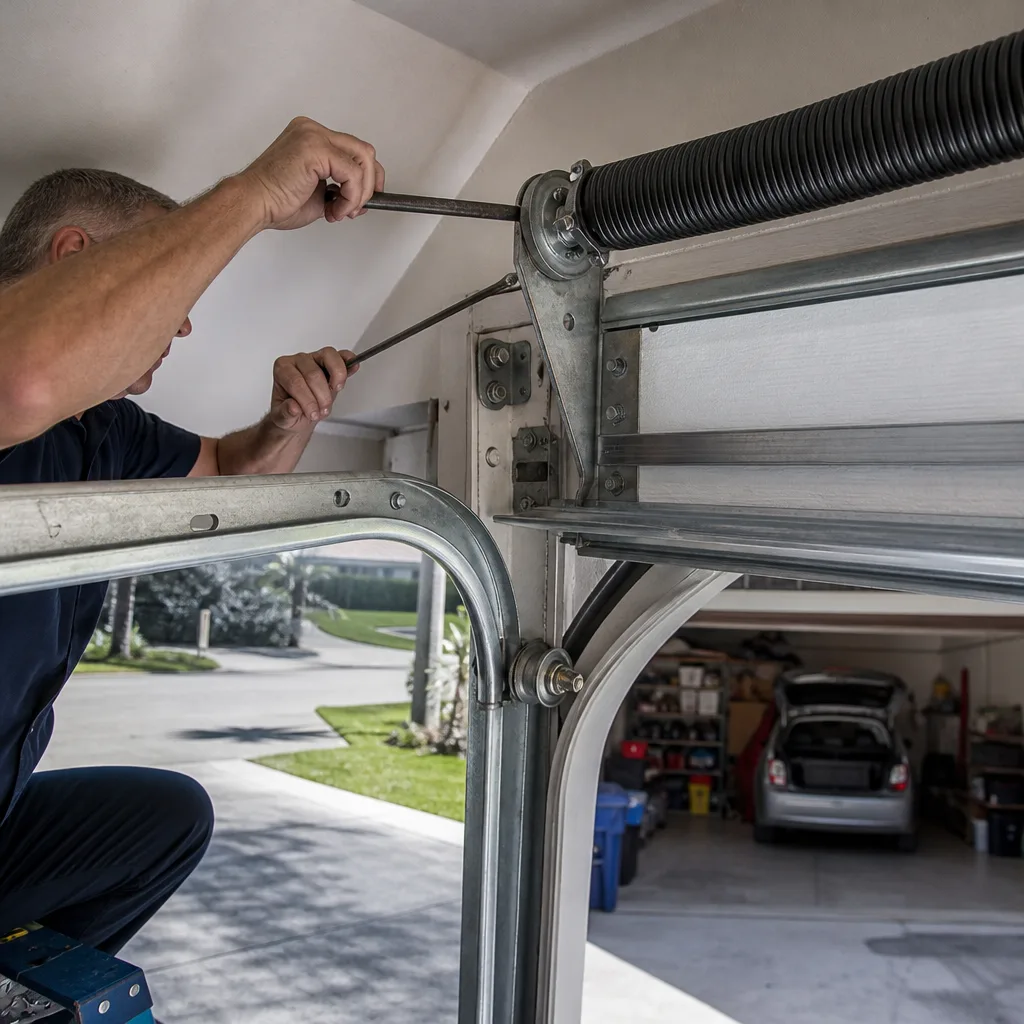 After
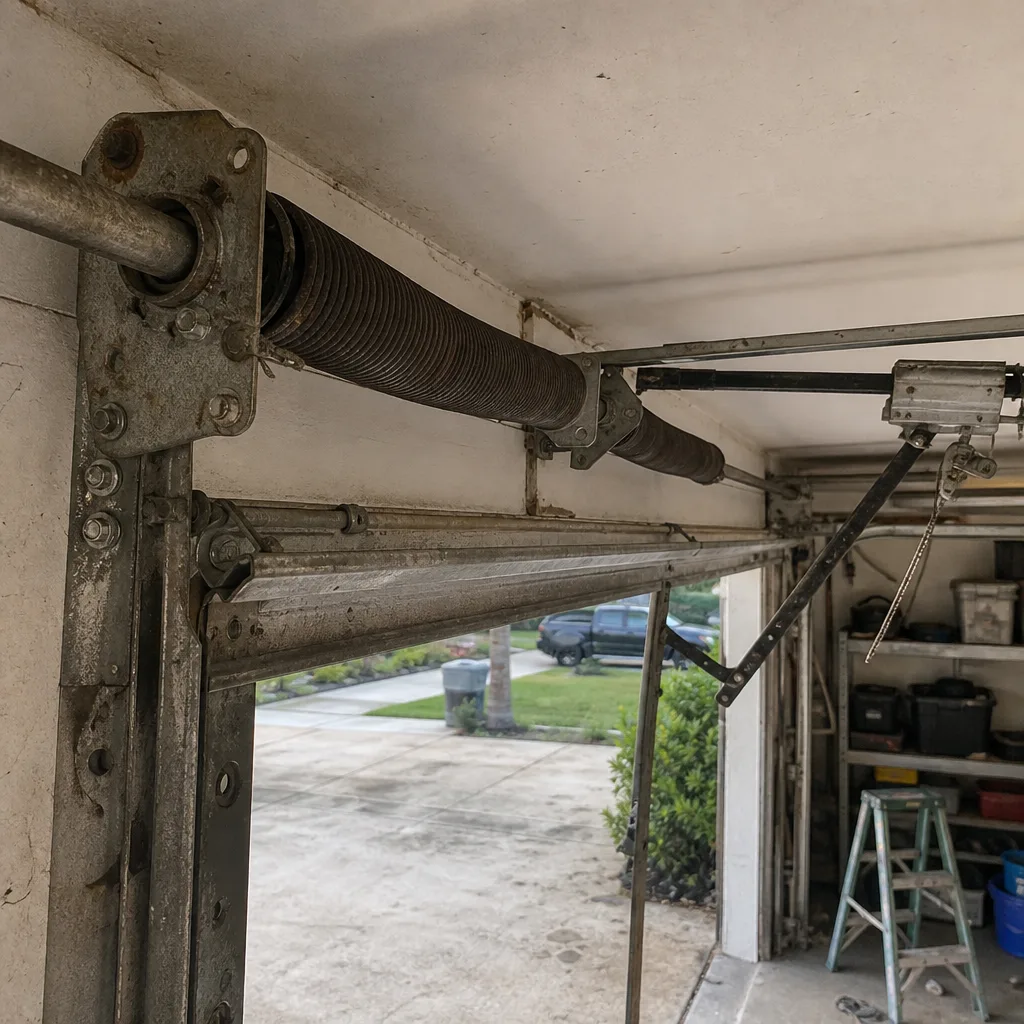 Before
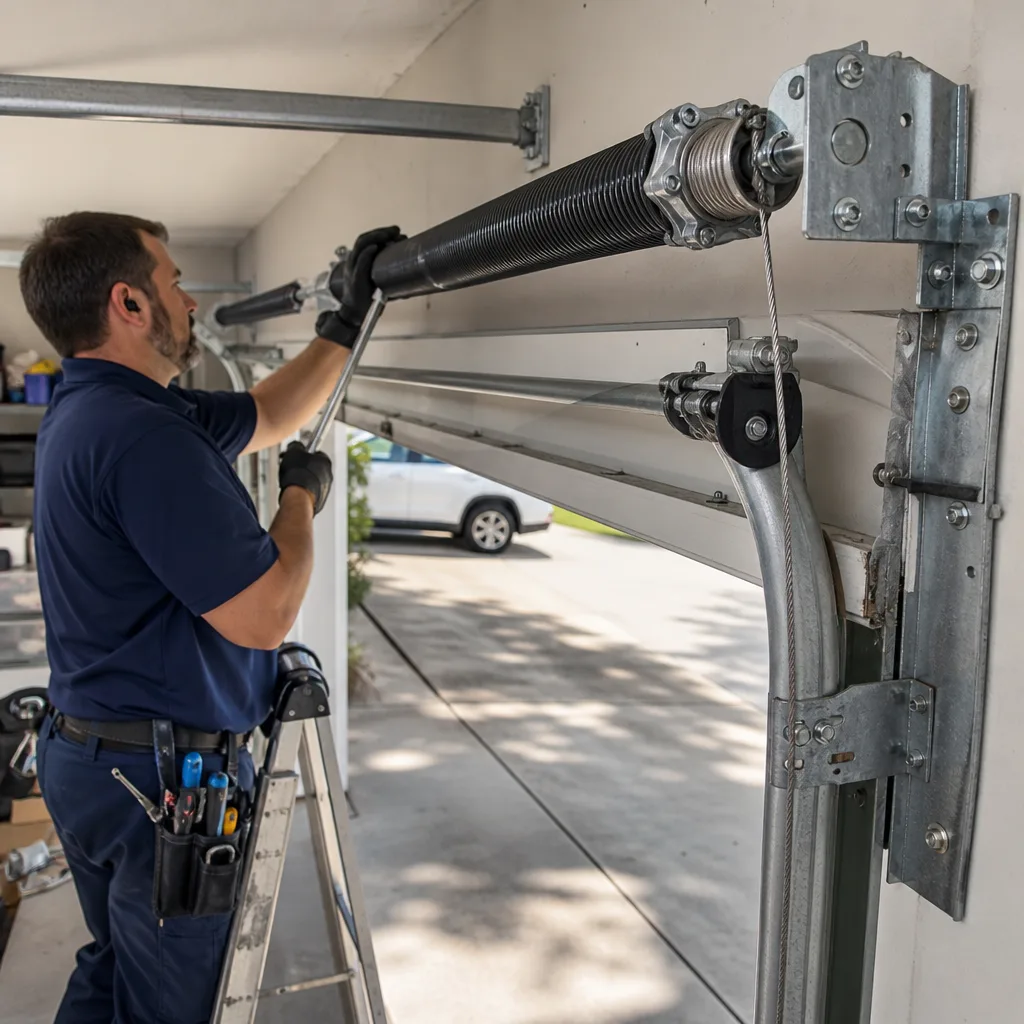 After